
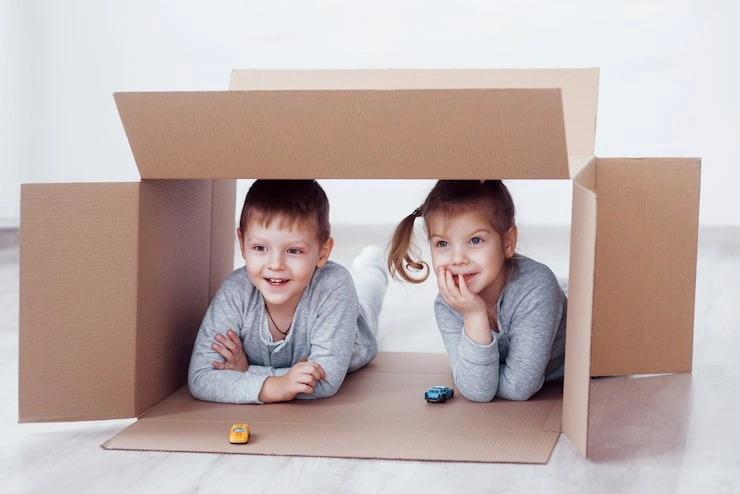
You have a cardboard box in your home right now. Maybe it held a delivery. Maybe it held a new toy. Most people throw these boxes away. They put them in the recycling bin. They cut them up for trash. But you do not have to do that.
Cardboard boxes are free. They are strong. They are safe for kids. And they can turn into hours of fun. You do not need expensive toys. You do not need fancy craft supplies. You just need a box, some basic tools, and a little time.
This guide will show you exactly how to turn cardboard boxes into amazing crafts for kids. Every hack here is tested. Every hack here works. And every hack here uses things you already have at home. Let us begin.
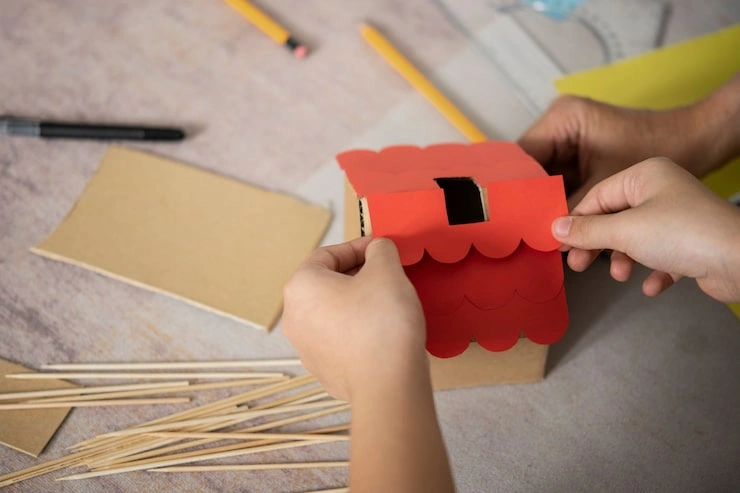
Cardboard is not just a box. It is a blank canvas. It is a building block. It is a toy waiting to happen.
Here is why cardboard works so well for cardboard box craft hacks for kids.
First, cardboard is everywhere. You get it with every online order. You get it with every large purchase. You never have to buy it. This saves money. This saves trips to the store. And this teaches kids to use what they have.
Second, cardboard is safe. It has no sharp edges. It does not break into tiny pieces. It does not have toxic chemicals. Kids can touch it. Kids can bite it. Kids can sit on it. It holds up well to rough play.
Third, cardboard is easy to work with. Young kids can tear it. Older kids can cut it. Everyone can paint it. Everyone can glue it. Everyone can fold it. There is no wrong way to use cardboard.
Fourth, cardboard teaches kids about making things. They see a flat piece turn into a castle. They see a square turn into a car. This builds confidence. This builds problem solving. This builds creativity.
Last, cardboard is recyclable. When the craft is done, you put it back in the bin. It does not sit in a landfill forever. It does not hurt the planet. Your kids learn about reusing and recycling.
Now let us get to the hacks.
Read Also: Craft Hacks Using Wooden Pallets
Before you make anything, get your tools ready. You do not need much. Most of these tools are already in your home.
You need something to cut the cardboard. For young kids, use safety scissors. These are scissors with rounded tips. They cannot poke or stab. They cut paper and thin cardboard well.
For older kids, use craft scissors. These are sharper. They cut through thicker cardboard. They make clean lines. Keep these away from young children.
For adults, use a craft knife or box cutter. This is for cutting big pieces. This is for cutting thick double wall cardboard. Only adults should use these knives. They are very sharp. They can cut fingers easily.
You need tape. Use strong packing tape. This tape holds big boxes together. It sticks well. It does not come off easily. Use masking tape for lighter jobs. Masking tape is easier to tear. Masking tape is easier to remove.
You need glue. White school glue works for paper and light cardboard. It dries clear. It washes off hands. For heavy cardboard, use hot glue. Hot glue dries fast. Hot glue holds strong. But hot glue is hot. Only adults should use hot glue guns.
You need paint. Use washable tempera paint. This paint comes off skin. This paint comes off clothes. It is safe for kids. It comes in many bright colors.
You need markers. Use chunky markers for small hands. Use washable markers for easy cleanup. You also need crayons. Crayons are simple. Crayons do not make a mess. Crayons work on any cardboard.
Get a ruler. A ruler helps you draw straight lines. Get a pencil. A pencil lets you draw before you cut. Get a hole punch. A hole punch makes perfect circles. Get some string or yarn. String connects things together.
Get a cutting mat. This protects your table. This saves your knives from getting dull. If you do not have a cutting mat, use a thick piece of scrap cardboard.
Now you are ready.
Every kid loves to play kitchen. They want to cook. They want to serve food. They want to pretend. A cardboard box can turn into a full kitchen in one afternoon.
One large moving box. A smaller box for the oven door. Tape. Scissors. A marker. A plate or bowl for tracing circles.
Take the large box and stand it up. The opening faces you. This is the front of the kitchen.
On the top part of the box, draw four small circles. These are your burners. Use a plate to trace them. Make them even. Space them out. Color them black or gray.
Below the burners, draw a large square. This is the oven door. Cut along three sides of the square. Leave the bottom side attached. Now you can open and close the oven door like a real oven.
On the door, draw a small circle. This is the oven window. Cut it out. Glue a piece of clear plastic over the hole. You can use a report cover or a clear bag. Now kids can see inside their oven.
Take the smaller box and turn it on its side. This is the microwave. Place it next to the big box. Draw a small door on it. Cut it open. Add a number pad with markers. Draw little buttons.
Now you have a kitchen. Kids can cook pretend meals. Kids can bake pretend cakes. Kids can use old pots and pans. Kids will play for hours.
Add a towel rack. Glue a long piece of cardboard across the top. Hang a small hand towel on it. Add a shelf above the stove. Glue a flat piece of cardboard to the top. Place pretend spices on it. Use small empty bottles.
Kids love cars. They love speed. They love vroom vroom sounds. A cardboard box can become a race car in minutes. Your child can sit inside it. Your child can drive it anywhere.
One medium box. A paper plate. Tape. Scissors. Paint. A marker.
Take the medium box. Close the top flaps. Tape them shut. Now turn the box on its side. The taped end is the front of the car.
At the front, draw a large rectangle. This is the windshield. Cut it out. Make sure the hole is big enough for your child to see through.
On the bottom of the box, draw two large circles. These are the wheel openings. Cut them out. You are cutting away the bottom of the box. Your child's legs will stick out here. They will use their feet to move the car.
On the sides of the box, draw big circles. These are the side wheels. You are not cutting these out. You are just drawing them. Color them black. Add a white hubcap in the center.
Take the paper plate. Fold it in half. Tape it to the front of the box. This is the steering wheel. Make it stick out so kids can grab it.
Add a number to the car. Write a big number on the side. Write number five or number eight. Add racing stripes. Use tape to make stripes. Paint over them. Remove the tape. You have perfect stripes.
Add a spoiler to the back. Cut a long piece of cardboard. Fold it into a triangle. Tape it to the back of the car. Add headlights. Cut two small circles of foil. Tape them to the front. They shine like real lights.
Dolls need homes. Dolls need bedrooms. Dolls need living rooms. A big cardboard box can hold an entire dollhouse. This is perfect for rainy days. This is perfect for quiet play.
One very large box. Several small boxes. Tape. Scissors. A ruler. A pencil.
Take the large box and lay it on its side. The long side faces you. This is the front of the house.
On the front, draw three rectangles. These are the rooms. Make them different sizes. Make one big and two small. Cut out the rectangles. Save the pieces you cut out.
Now you have three open rooms. The rooms need floors. Take the pieces you cut out. Tape them inside the box. Tape them at different heights. Put one floor low. Put one floor high. This creates different levels.
Now make furniture. Use small boxes for beds. Cut a small box in half. That is a crib. Use a folded piece of cardboard for a table. Use a rolled piece of cardboard for a chair.
Make a staircase. Take a long strip of cardboard. Fold it back and forth like an accordion. This makes stairs. Tape it between the floors.
Decorate the rooms. Use markers to draw windows. Draw rugs on the floors. Draw pictures on the walls. Add paper curtains. Glue scraps of fabric over the windows.
Make a family. Cut people shapes from cardboard. Draw faces on them. Color their clothes. Now the dolls can live in the house. The family can eat at the table. The family can sleep in the beds.
You May Also Like: Creative DIY Crafts Using Old Clothes
Marble runs are fun. Marble runs are challenging. A cardboard box can become a marble run in minutes. Kids watch the marble roll. Kids learn about gravity. Kids learn about speed.
A large flat piece of cardboard. A box lid works great. Tape. Scissors. Several cardboard strips. Some marbles.
Take the flat cardboard piece. This is your base. Set it flat on the table.
Cut several long strips of cardboard. These are your tracks. They should be about two inches wide. They should be longer than your hand.
Take one strip. Fold up the edges on both sides. Fold them up about half an inch. This creates a channel. The marble will stay in the channel. It will not roll off.
Tape this strip to the base. Start at the top. Let it slope down to the bottom. The marble will roll down the slope.
Add more strips. Make them curve. Make them zigzag. Tape them together. Let one strip end above another strip. The marble will drop from one to the next. This makes it exciting.
At the bottom, tape a small cup. This catches the marble. The marble rolls down and lands in the cup. Kids can start again.
Add obstacles. Cut a small triangle. Tape it in the middle of a track. The marble hits it and bounces. Add a tunnel. Cut a piece of paper and bend it over the track. The marble goes under it. Add a bell at the end. The marble rings the bell when it finishes.
Every kid should have a castle. Every kid should be a king or queen. A few boxes can build a real castle. A castle has towers. A castle has walls. A castle has a drawbridge.
Three or four big boxes. Tape. Scissors. A ruler. Paint or markers.
Take your biggest box. Stand it up. This is the main castle building. Cut out a door at the bottom. Make it tall enough for your child to walk through.
Take two smaller boxes. Stand them on top of the big box. One on the left. One on the right. These are the towers. Tape them down. Make sure they are stable.
Now make the castle walls. Take long flat pieces of cardboard. Attach them between the towers. This connects everything. This makes the castle one big building.
Cut battlements along the top. Battlements are the up and down shapes on castle walls. Draw a line across the top. Draw small squares along the line. Cut out the squares. Leave the up pieces. Now you have a real castle look.
Make a drawbridge. Cut a rectangle below the main door. Cut three sides. Leave the bottom attached. Tie a string to the top. Pull the string to raise the drawbridge. Let the string go to lower it.
Decorate the castle. Draw stones on the walls. Use gray paint. Use brown markers. Add a flag at the top. Use a stick and a piece of paper. Tape it to the tallest tower.
Add a moat around the castle. Use a blue towel or blue paper. Spread it around the castle. Put toy dragons inside the castle. Put toy knights outside. Now the castle has a story.
Music is fun. Music is creative. A cardboard box can become a guitar. Kids can strum it. Kids can sing with it. Kids can put on a show.
A long narrow box. A smaller box. Rubber bands. Tape. Scissors. A pencil.
Take the long narrow box. Stand it on its end. This is the body of the cardboard box craft hacks for kids.
At the top of the box, draw a circle. This is the sound hole. Cut it out. The sound hole makes the guitar louder. The sound hole makes it sound real.
Take the smaller box. Cut it into a long rectangle. This is the neck of the guitar. Tape it to the top of the body. The neck goes straight up.
Now get the rubber bands. Stretch them over the sound hole. Stretch them from the neck to the bottom of the body. Put three rubber bands on. Space them out. They are your strings.
Tape a pencil across the neck. This is the fret. It holds the strings in place. It keeps them from slipping.
Now play the guitar. Strum the rubber bands. They make a twanging sound. Different rubber bands make different sounds. Thick rubber bands sound low. Thin rubber bands sound high.
Paint the guitar. Make it red like a rock star guitar. Add a pick guard. Cut a small curved piece of cardboard. Tape it below the sound hole. Add a strap. Use a long piece of string. Attach it to both ends of the guitar. Now kids can wear it and walk around.
Weaving is old. Weaving is calming. A cardboard box can become a loom. Kids can weave patterns. Kids can make small rugs. Kids can make coasters.
A flat piece of cardboard. Scissors. Yarn or string. A large plastic needle. Tape.
Take the flat piece of cardboard. Cut it into a rectangle. Make it about the size of a book.
Along the top edge, cut small slits. Cut them about half an inch deep. Space them one inch apart. Do the same along the bottom edge. Make sure the slits line up top and bottom.
Now warp the loom. Warp means putting the strings on. Take a long piece of yarn. Tape one end to the back of the loom. Bring it up through the first top slit. Pull it down to the bottom slit. Bring it through the bottom slit. Pull it to the back. Come up through the next bottom slit. Keep going back and forth. You have vertical strings. These are the warp strings.
Now weave. Take a different color yarn. Tie it to a plastic needle. Start at one side. Go over the first warp string. Go under the second. Go over the third. Go under the fourth. Keep going across.
When you reach the other side, turn around. Go back the other way. This time go under the first string. Go over the second. Alternate every row. This creates a woven pattern.
Push the woven yarn down with your fingers. Keep weaving until you fill the whole loom. When you are done, cut the warp strings at the top and bottom. Tie them in knots. Pull your weaving off the loom.
Make a rainbow weaving. Use red, orange, yellow, green, blue, purple. Each row is a new color. Make a striped weaving. Use two colors back and forth. Make a friendship bracelet. Weave a thin strip and tie it around your wrist.
Young kids need to learn shapes. Young kids need to learn colors. A cardboard box can become a shape sorter. This is perfect for toddlers. This is perfect for learning.
A small box with a lid. Scissors. A marker. Some cardboard scraps. A ruler.
Take the small box. Put the lid on. This is your sorter box.
On the lid, draw three different shapes. Draw a circle. Draw a square. Draw a triangle. Make them big enough for small hands. Make them about three inches wide.
Cut out the shapes with your scissors. Cut carefully. Make the edges smooth. Save the shapes you cut out.
Now make the shape pieces. Take the cardboard scraps. Draw the same shapes on them. Draw a circle the same size as the hole. Draw a square the same size. Draw a triangle the same size. Cut them out.
Now show your child how to play. Take the circle piece. Put it over the circle hole. Push it through. It falls inside the box. Do the same with the square. Do the same with the triangle.
Kids learn to match shapes. Kids learn to turn pieces. Kids learn to fit things together. This takes practice. This takes patience. Kids love the success when it falls in.
Add more shapes. Add a star. Add a heart. Add a rectangle. Color code the shapes. Make all circles red. Make all squares blue. Make all triangles yellow. Now kids learn colors too. Cut a flap on the side of the box. This lets kids reach in and get the pieces out. They can play again and again.
Cities are tall. Cities are bright. A cardboard city is easy to make. Kids build skyscrapers. Kids build houses. Kids build stores. Kids arrange them however they want.
Many small boxes. Tape. Scissors. Markers. Paint.
Make streetlights. Use toothpicks and small balls of clay. Push them into the cardboard. Make trees. Use green paper and brown sticks. Tape them to the buildings. Add people. Draw stick figures on small cardboard pieces. Stand them on the road.
Forts are secret places. Forts are cozy places. A big cardboard box can become a fort. Kids can read inside it. Kids can nap inside it. Kids can hide inside it.
One enormous box. Tape. Scissors. A marker. Some pillows and blankets.
Take your biggest box. It should be big enough for your child to sit in. Even better if they can lie down in it.
Open the box completely. You have a big sheet of cardboard. You are going to fold it into a tent shape.
Fold the cardboard in half. The fold is the top of the tent. Tape the two ends together. Now you have a triangle shape. This is the fort frame.
At the bottom, cut an opening. This is the entrance. Make it wide enough for your child to crawl through.
Now add the roof. Cut a piece of cardboard to fit over the top. Tape it down. This makes the fort dark and cozy.
Inside the fort, put pillows. Put blankets. Put a small flashlight. Put some books. This is a reading nook. This is a sleeping spot. This is a secret clubhouse.
Make a sign for the fort. Write "No Grownups Allowed" on it. Tape it to the entrance. Make a mail slot. Cut a small flap on the side. Kids can pass notes through it. Draw stars on the inside ceiling. Use glow in the dark paint. The stars shine at night.
Music again. Music with different sounds. A cardboard xylophone is simple. Kids hit it with sticks. Kids hear different pitches.
A long flat piece of cardboard. Scissors. Tape. A ruler. Some small sticks.
Take the flat cardboard. Cut it into a long rectangle. This is your xylophone base.
Now cut seven strips of cardboard. Each strip should be a different length. Make one strip six inches long. Make one strip seven inches long. Make one strip eight inches long. Keep going up to twelve inches.
Tape the strips to the base. Tape them at the ends. Leave the middle free. The middle should be able to bounce up and down.
Arrange the strips from shortest to longest. Short strips make high sounds. Long strips make low sounds.
Now color each strip a different color. Use rainbow colors. Red for the shortest. Purple for the longest. This looks beautiful.
Get two small sticks. These are your mallets. Tap each strip gently. Listen to the sounds. The short ones go ping. The long ones go thump. You have a real instrument.
Write note names on each strip. Write C, D, E, F, G, A, B. Now kids can learn the musical scale. Play a simple song. Tap three strips in a row. Twinkle Twinkle Little Star is easy.
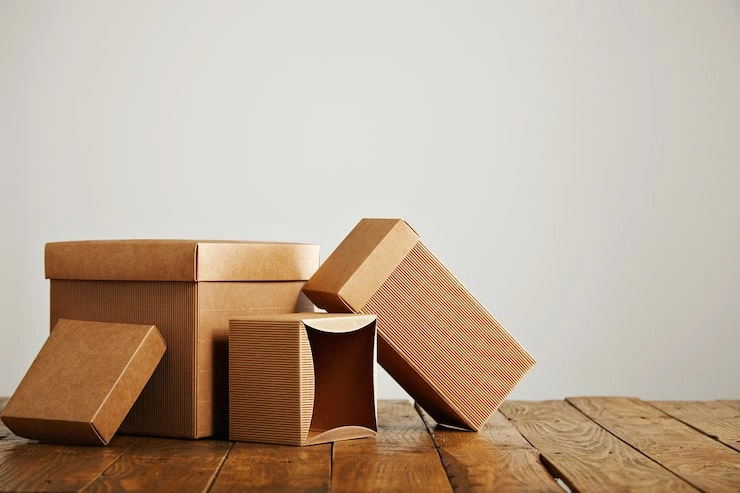
Kids love shopping. Kids love selling things. A cardboard box can turn into a store. Kids set up products. Kids take orders. Kids make pretend money.
Two medium boxes. Tape. Scissors. Markers. Small toys or food items.
Take one medium box. Stand it up. This is the store counter. Cut a wide opening at the front. This is where the customer stands. Cut another opening at the back. This is where the shopkeeper stands.
Now make shelves. Take the second box. Cut it into flat pieces. Fold them into shelf shapes. Tape them inside the store. Make one shelf high. Make one shelf low.
Put items on the shelves. Put small toy foods. Put old juice boxes. Put empty cereal boxes. Put stuffed animals. These are your products.
Make a sign for the store. Write the store name on cardboard. Color it brightly. Tape it to the top. Call it "Kiddie Mart" or "The Toy Shop."
Make pretend money. Cut small rectangles from paper. Write numbers on them. Write 1, 5, 10, 20. Kids use this money to buy things.
Now play store. One child is the shopkeeper. One child is the customer. The customer asks for items. The shopkeeper gets them. The customer pays. The shopkeeper gives change.
Add a shopping cart. Use a small box with wheels drawn on it. Add a cash register. Use a small box with a drawer. Pull the drawer open. Put money inside. Add a bagging area. Place a paper bag at the end of the counter.
Cardboard crafts can take up space. Here is how to store them.
Break big crafts down flat. Cut the tape. Fold the cardboard. Stack the pieces. Slide them under a bed. Slide them behind a couch. Pull them out when ready.
Stack smaller crafts inside each other. Put the dollhouse inside the castle. Put the castle inside the store. This saves space.
Label your boxes. Write "Castle" on the outside. Write "City" on the outside. You know what is inside. You find things quickly.
Take photos of your crafts. This is important. Your kids will outgrow them. You will recycle them. Photos keep the memory. Photos show what you made.
Recycle tired crafts. When a craft is broken, recycle it. Do not keep everything. Keep the favorites. Recycle the rest. This teaches kids about letting go.
Cardboard is safe. But you still need to be careful.
Always cut away from your body. Never cut toward your hand. Use the right scissors for the job. Young kids should not use sharp knives.
Watch for staples and tape. Boxes have hidden staples. Remove them before crafting. They can cut fingers. They can damage scissors.
Keep paint away from mouths. Washable paint is safe. But kids should not eat it. Supervise young children. Paint on paper first. Paint on cardboard second.
Do not use boxes that held chemicals. Some boxes held cleaning products. Some boxes held paint. These boxes have residue. They are not safe for kids. Use clean boxes from food or deliveries.
Check for sharp edges after cutting. Some cuts are rough. Smooth them down. Rub the edge with your finger. Fold a piece of tape over sharp edges. This makes them soft.
Keep small pieces away from babies. Toddlers put things in their mouths. Small cardboard pieces are choking hazards. Keep crafts for older kids separate from baby toys.
Cardboard boxes are not trash. They are raw materials. They are starting points. They are fun waiting to happen. Every box in your recycling bin is a missed opportunity. Every box you break down is a craft not made. Keep that box. Save that box. Let your kids create. These twelve hacks work. They are tested by parents. They are loved by kids. They are easy to do. They cost almost nothing.
Start with one hack today. Pick the race car. Pick the castle. Pick the fort. Make it with your child. Watch their face light up. Watch their pride grow. You do not need to be an expert. You do not need special skills. You just need a box and some time. The rest is magic. Now go find a cardboard box. Your kids are waiting. Your next adventure is in that box. Open it up. Start crafting. Have fun together.