
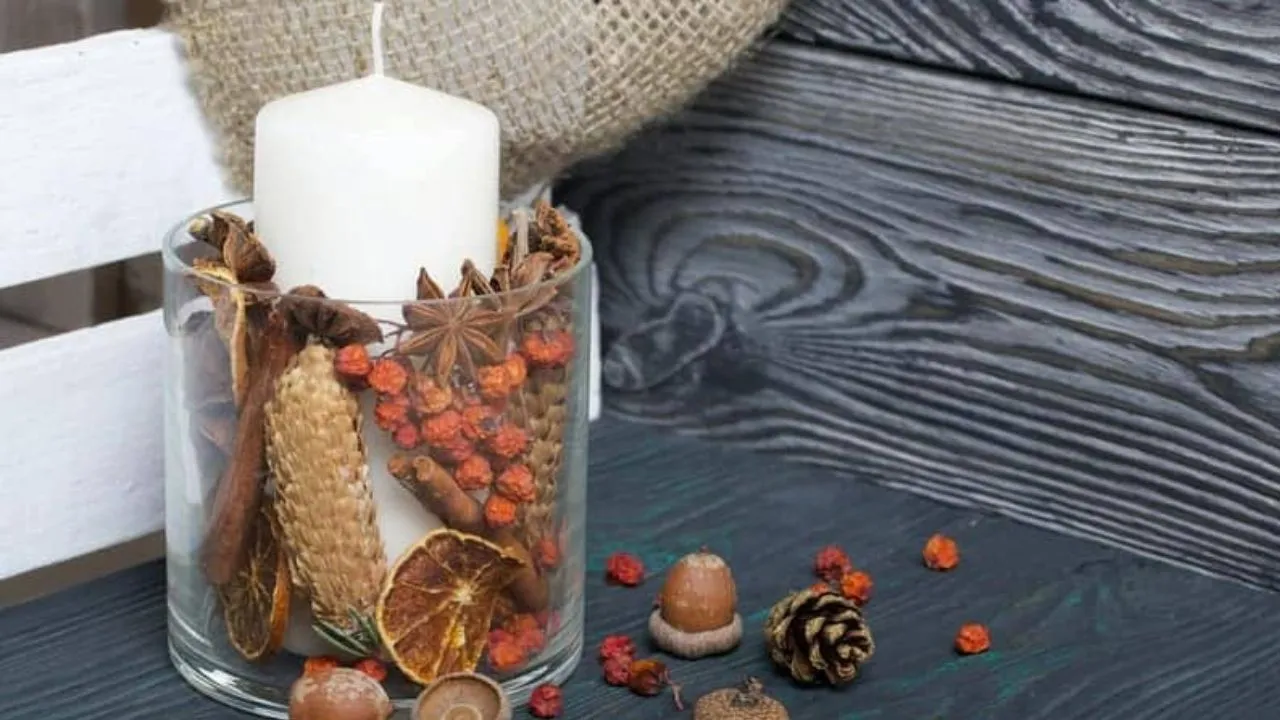
Upcycling a glass jar into a candle holder is one of those projects that looks harder than it is. You take something headed for the recycling bin, spend a little time with it, and end up with a useful object that throws warm light across a room. The jar gets a second life. You get a candle that costs far less than a store-bought version in a fancy container. And the whole process takes an afternoon, not a weekend.
This guide walks through the entire process with attention to the details that actually matter. It covers jar selection, safety, preparation, wicking, pouring, and finishing. It also addresses the mistakes people make most often, so you can avoid them on your first upcycle glass jars into candle holders.
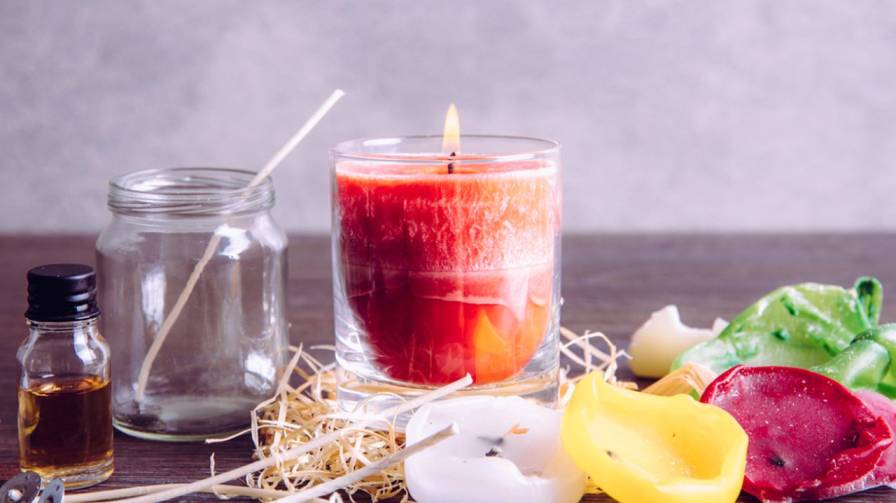
Before anything else, you need to know whether your jar can handle a candle. Not every glass jar is safe. A jar that cracks from heat will spill hot wax, and hot wax can start a fire. The rules are simple.
A safe candle jar must be heat-resistant, thick enough to handle the temperature change, and free of cracks or chips . Jelly jars and mason jars are excellent choices because they are manufactured to withstand heat during the canning process . Glass jars that held pickles, jam, or pasta sauce are usually fine, provided the glass is thick and the jar has no damage.
Avoid thin glass, decorative glass that was never meant for heat, and anything with a visible crack. If you can flex the glass with your hands, it is too thin. If the jar has a narrow neck and a wide base, the heat will concentrate near the flame and the glass may crack . A straight-sided jar with a wide mouth distributes heat more evenly.
One more thing: never use a plastic container for a candle. Hot wax will melt plastic, and melted plastic plus an open flame is a disaster . Stick with glass, metal, or glazed ceramic.
Read Also: Simple Newspaper Crafts For Home Decoration
Gather everything before you begin. Candle making moves quickly once the wax is melted, and you do not want to be searching for a wick while the wax cools.
The jar. One clean, dry, heat-safe glass jar. A standard mason jar or jelly jar works well. Remove the lid; you will not need it.
Wax. Soy wax, beeswax, or a soy-coconut blend are good choices for beginners. Soy wax is forgiving, cleans up with soap and water, and holds scent well. Beeswax burns longer and has a natural honey scent. Paraffin works too but is less forgiving if you overheat it.
Wicks. Buy wicks sized for the diameter of your jar. A wick that is too small will drown in the wax pool. A wick that is too large will produce a flame that is too tall and creates soot. Most craft stores sell wick assortments with a sizing guide on the package. When in doubt, go one size up rather than down.
Wick tabs and glue. A small metal tab holds the wick upright at the bottom of the jar. Use a glue dot, hot glue, or a dab of melted wax to secure the tab to the center of the jar.
A heat-safe melting pitcher. A glass measuring cup works. So does a metal pouring pitcher. Do not melt wax directly in a pot on the stove unless you plan to dedicate that pot to candle making forever.
A thermometer. Candle wax needs to reach a specific temperature for fragrance to bind properly and for the wax to set smoothly. A cheap candy or infrared thermometer is fine.
Fragrance oil or essential oil. Optional, but most people want a scented candle. Use fragrance oil formulated for candles, or essential oils if you prefer. Essential oils are more delicate and may fade faster, but they work .
A scale. Candle making is more consistent when you measure wax and fragrance by weight rather than volume. A basic kitchen scale is sufficient.
A dirty jar will ruin the candle. Residual oil or food particles can prevent the wick from burning properly or create a smell when the candle is lit. Wash the jar with hot soapy water, rinse it well, and dry it completely.
Removing the label is often the most tedious part. Soak the jar in warm water with a few drops of dish soap for twenty minutes. The label should lift off with a gentle scrape. Any sticky residue comes off with a little rubbing alcohol on a cloth. Do not use a metal scraper on the glass; a plastic scraper or your fingernail is safer.
Once the jar is clean, dry it thoroughly. Even a small amount of moisture can cause the wax to sputter or create a rough top surface. Let it air dry upside down on a clean towel, then wipe the inside with a dry cloth before you begin.
Place the wick tab in the exact center of the jar’s bottom. This matters more than people realize. An off-center wick burns unevenly, creates a lopsided wax pool, and may cause the glass to heat unevenly on one side.
Use a glue dot or a small amount of hot glue to stick the tab down. Press firmly and wait a few seconds for the adhesive to grab. If you are using hot glue, be careful not to build up a thick layer; you want the tab flat against the glass.
Hold the wick upright. A wick that leans will burn at an angle and produce an uneven candle. You can use a wick holder, a pencil laid across the top of the jar with the wick taped to it, or two chopsticks balanced across the rim to keep the wick straight while the wax cools.
Fill a saucepan with a few inches of water and bring it to a gentle simmer. Place your melting pitcher in the water. This is a double boiler setup, and it is the safest way to melt wax at home. Never melt wax directly over an open flame.
Add your wax to the pitcher. How much wax do you need? A rough rule: the amount of wax in weight should be about 80 to 85 percent of the jar’s water capacity. To be precise, fill the jar with water, pour that water into a measuring cup, and note the volume. Then weigh out wax based on the package instructions for that volume.
Stir the wax occasionally as it melts. Keep the water at a simmer, not a rolling boil. Wax that gets too hot can scorch, discolor, or in the case of some waxes, become dangerous. Soy wax melts around 120 to 130 degrees Fahrenheit. Beeswax needs higher heat, around 150 to 170 degrees.
Once the wax is fully liquid, check the temperature. Add fragrance oil when the wax is between 160 and 180 degrees Fahrenheit, depending on the oil manufacturer’s recommendation. A typical fragrance load is about 6 to 8 percent of the wax weight . For a candle using 200 grams of wax, that means 12 to 16 grams of fragrance oil. Stir gently for about two minutes to distribute the oil evenly.
Let the wax cool to around 135 to 145 degrees before pouring. Pouring too hot can cause the wax to shrink away from the glass as it cools, creating a rough surface or a tunnel in the center. Pouring too cool can create lumps and an uneven top.
Pour the wax slowly into the jar, aiming for the center near the wick. Stop about half an inch from the rim. You want enough headspace so that the flame has room and the wax does not overflow if it upcycle glass jars into candle holders.
If you see air bubbles on the surface, tap the jar gently on the counter a few times. Do not stir the wax once it is in the jar; stirring disturbs the wick and creates more bubbles.
Let the candle cool undisturbed at room temperature. This is the hardest part because it takes time. Do not move the jar, do not put it in the refrigerator, and do not blow on it. Rapid cooling causes the wax to crack, pull away from the glass, or develop a sinkhole in the middle. A standard mason jar candle may take four to six hours to set completely. Larger jars take longer. Overnight is safest.
If a sinkhole does form after the candle has cooled, you can fix it. Melt a small amount of wax, let it cool to the pouring temperature, and fill the depression. Let it set again.
Trim the wick to about a quarter inch before the first burn. A wick that is too long will produce a large flame, smoke, and soot on the glass. Scissors or a wick trimmer both work.
The first burn matters. Let the candle burn long enough for the wax to melt across the entire surface of the jar, usually two to three hours for a standard jar. This “memory burn” prevents tunneling, where the candle burns straight down the center and wastes the wax around the edges.
Never leave a burning candle unattended. Never burn a candle near curtains, paper, or anything that can catch fire. Keep candles out of reach of children and pets. These rules apply to every candle, no matter how carefully you made it .
The wax cracked after cooling. This usually means the wax cooled too fast. Next time, pour at a slightly lower temperature and let the jar cool more slowly in a draft-free spot. Small cracks on the surface are cosmetic and do not affect how the candle burns. Large cracks that go deep into the wax are worth fixing with a second pour.
The wick keeps going out. The wick is probably too small for the jar, or it was trimmed too short. A wick that is too small cannot draw enough melted wax to sustain the flame. Try a larger wick size on your next candle. If the wick is drowning in a pool of wax, you can pour out a little of the melted wax with a spoon, but the long-term fix is a bigger wick.
The flame is too tall and smoking. This means the wick is too large or too long. Trim the wick and see if the flame settles. If it does not, the wick size is the issue. A flame that is taller than an inch and a half or that produces black smoke is unsafe and should be extinguished.
The candle smells weak. Fragrance oil needs to be added at the right temperature and stirred thoroughly. If you added oil when the wax was too hot, the scent may have burned off. If the wax was too cool, the oil may not have bound properly. For essential oils, remember that they are less concentrated than fragrance oils, and some scents fade faster in wax .
The glass is hot to the touch. Some warmth is normal, but the glass should not be too hot to handle. If it is, the wick is probably too large, or the jar is too small for the flame. Place the candle on a heat-safe surface and keep it away from anything flammable. If the glass feels dangerously hot, extinguish the candle and reassess the wick size.
You May Also Like: Easy Craft Hacks for Busy Moms: Simple Fun for Everyone
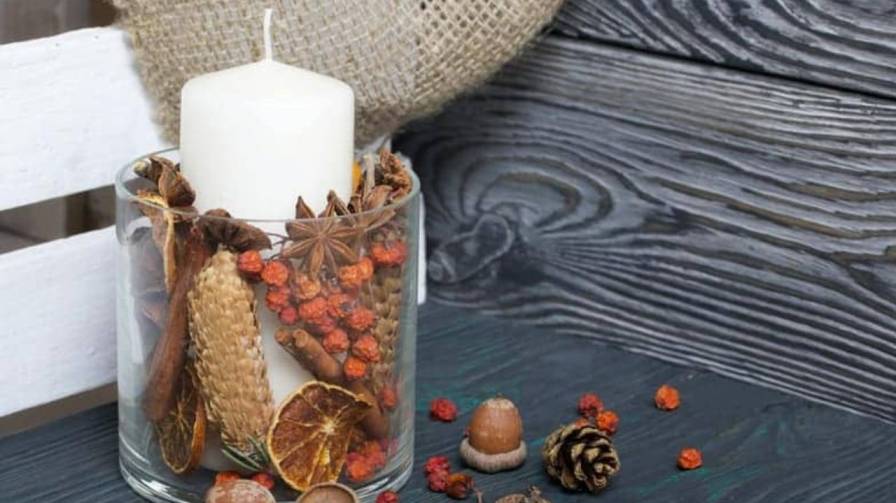
The basic process leaves room for variation. You can tint the wax with candle dye, though a little goes a long way. You can add dried flowers or herbs to the top of the candle after the wax has started to set but is still soft, though be aware that anything near the flame is a potential fire hazard and should be kept away from the wick.
You can decorate the outside of the jar with paint, twine, or decoupage. If you paint the jar, keep the paint on the outside and away from the rim where the flame will be. A band of jute twine wrapped around the neck of the jar adds texture and costs almost nothing.
For a seasonal touch, paint the jar with a soft color and press dried flowers onto the surface with Mod Podge before sealing them with another layer . The result looks like something from a boutique, but it started as an empty pickle jar.
Candle making involves heat, wax, and an open flame. The materials themselves are not complicated, but carelessness causes problems. Melt wax in a double boiler, never directly on the stove. Keep a fire extinguisher or a lid nearby when you are melting wax. Do not pour melted wax down the sink; it will solidify and clog the drain.
When choosing a jar, remember that not all glass is equal. A jar that held candles from a store was likely designed for that purpose. A jar that held tomato sauce was not, but many of those jars are made of thick, heat-resistant glass that works perfectly well. If you are unsure about a particular jar, test it by pouring hot water into it before you commit to making a candle. If the glass cracks from hot water, it will definitely crack from a candle flame.
The wick is the part most people overlook. A cheap wick that is the wrong size will make an otherwise perfect candle burn poorly. Buy wicks from a candle supplier or a craft store that sells candle-specific materials, and follow the sizing guide on the package. It is the single easiest way to improve the performance of a homemade candle.
Yes, but the lid is only for storage. Never burn a candle with the lid on. The lid traps heat and can cause the glass to crack or the flame to behave unpredictably.
Soy wax candles benefit from a cure time of one to two weeks. During this time, the fragrance binds more fully with the wax and the scent throw improves. If you cannot wait, the candle will still burn, but the scent may be weaker. Beeswax and paraffin candles can be burned as soon as they are fully set.
Yes, but it takes some effort. Freeze the old candle for an hour, then use a dull knife to crack the wax out of the container. Melt the reclaimed wax in your double boiler and strain it through a fine mesh sieve or cheesecloth to remove debris and old wick pieces. The reclaimed wax may have lost some of its scent, so you may want to add fresh fragrance oil.
A jar with a rounded or textured bottom will not hold the wick tab securely. You can use a small amount of mold sealant or sticky wax putty to create a flat surface for the wick tab, but it is easier to choose a jar with a flat interior bottom.
The first candle usually costs more because you are buying supplies. Once you have wax, wicks, and fragrance on hand, the per-candle cost drops significantly, especially if you are using free jars. The savings grow the more candles you make.
Upcycling a glass jar into a candle holder is a small project with a tangible result. You end up with a candle that looks intentional, burns well, and carries a bit of your own effort. The jar that would have gone into the recycling bin now sits on a shelf or a table, doing something useful.
The process rewards attention to a few details: a heat-safe jar, a wick sized for the container, wax poured at the right temperature, and patience during cooling. None of these steps are difficult. They just require a little care. Once you have made one candle, the second is easier, and the third is almost automatic. Before long, you will be eyeing every empty jar in your kitchen and wondering what it could become.