
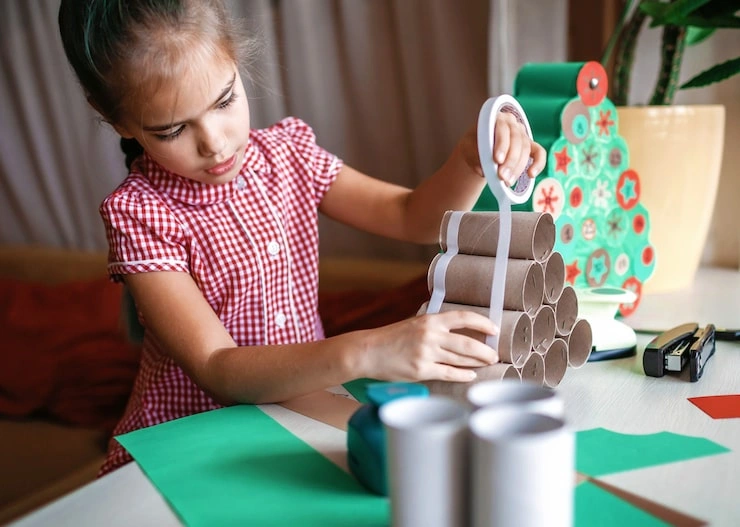
Look at your trash can. You see a plastic bottle. You see a cereal box. You see a toilet paper roll. You think these things are done. But a child does not think that way. A child sees a spaceship. A child sees a robot. A child sees a gift. This article is for you. You are a parent. You are a grandparent. You take care of kids at home. You want to do something fun. But you do not want to spend money. That is good. You do not have to spend money. Every craft here uses one thing. That thing is in your house right now. It is in your recycling bin. It is in your trash. Go get it. Clean it. Then sit with your child. Make easy recycled craft ideas for kids at home.
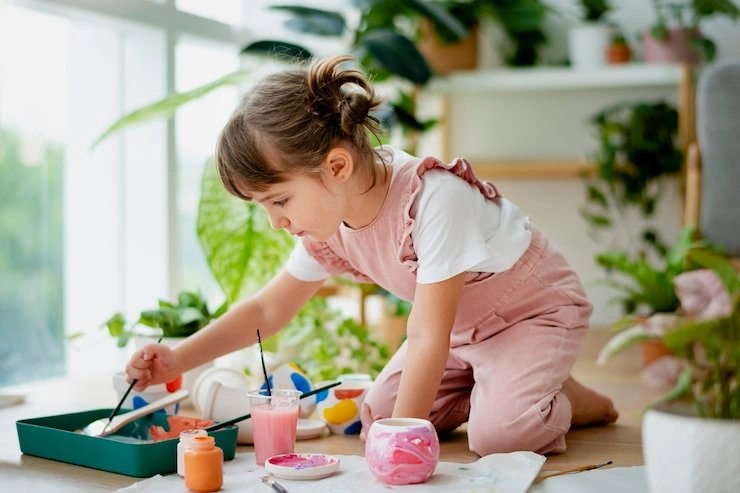
Read this before you do anything.
Clean everything. Use soap and water. A dirty bottle has germs. A dirty box has old food. Wash it. Dry it. Check for sharp edges. Some plastic breaks and gets sharp. Run your finger on the edge. Does it feel sharp? Throw it away. Get a different one. Use child scissors. Child scissors have a round tip. They cannot cut skin. Regular scissors are for adults only. Watch the glue. Some glue has a strong smell. Open a window. Tell your child to keep glue away from their eyes and mouth. No small parts for small kids. A bottle cap is small. A button is small. A three year old puts things in the mouth. Do not use small parts for a child under three.
Read Also: Educational Art Projects For Preschoolers
Cut a hole on the top of the bottle. The hole must be big enough for a coin. A coin is metal money. Paper money is too big. This hole is only for coins. Cover the whole bottle with pink paper. Your child puts glue on the paper. Then they stick it on the bottle. Wrinkles are fine. Wrinkles look funny. Glue the four bottle caps to the bottom of the bottle. Two in the front. Two in the back. Look at the bottle cap that closes the bottle. That cap is on the top. Glue it to the front of the bottle. That is the pig nose. Draw two small circles on white paper. Cut them out. Glue them above the nose. Those are the eyes. Draw a black dot in each white circle. Now you have a piggy bank. Your child puts a coin in the hole. The coin makes a sound. Your child learns to save money.
Paint the two toilet paper rolls. Any color. Let them dry.
Put glue on the side of one roll. Stick the second roll to it. Now they sit side by side. Wrap tape around the middle to make them stick tight. Cut a small piece from the paper towel roll. As long as your thumb. Glue this piece on top of the two rolls. This holds everything together. Poke a small hole on the left side of the left roll. Poke a small hole on the right side of the right roll. Put the string through both holes. Tie a knot at each end. The string goes around your childs neck.
Close the top flaps of the box. Tape them shut. Cut a hole in one side of the box. This hole is for your child to get in. The hole should be big. From the top of the box to near the bottom. Cut the front of the box. The front is the side where the driver looks out. Cut a big square hole. That is the windshield. Your child sees through this hole.
Take the plate. Turn it upside down. Draw a circle around the plate on a piece of cardboard. Cut the circle. That is a wheel. Make four wheels. Glue one wheel near each bottom corner of the easy recycled craft ideas for kids at home. Draw a steering wheel on a small piece of cardboard. Cut it. Glue it inside the box where your child can reach it. Let your child color the whole box. Red. Yellow. Blue. Add headlights. Add a license plate. Write your childs name on the license plate. Your child can sit in this car. They can drive to the kitchen. They can drive to the bedroom.
Wash the milk jug. Take the cap off. Throw the cap away.
Draw a line on the milk jug. Start at the bottom of the handle. Go down to the bottom of the jug. Then across the bottom. Then up the other side to the spout. The line looks like a U shape. Cut along the line. Now you have two pieces. The small piece is the back of the jug. Throw that away. The big piece is the front of the jug with the handle. That is your scoop.
You May Also Like: Father's Day Crafts for Toddlers: Adorable DIY Gifts Dad Will Treasure
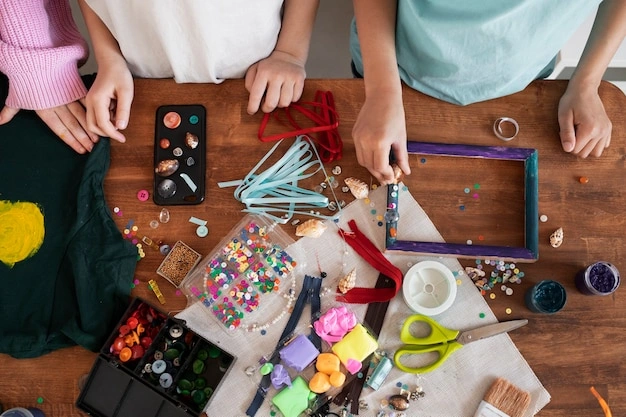
Clean the lids. Dry them.
Cut small shapes from the foam. Cut a circle. Cut a square. Cut a star. Cut a heart. Cut a flower. The shapes must be smaller than the lid. Glue each shape on top of a lid. One shape per lid. Let the glue dry. Pour a small amount of paint on a plate. Your child dips the lid shape in the paint. Then they press the lid on a piece of paper. The shape prints on the paper. Your child can make a whole page of stars. They can make a card for grandma. When the paint dries, wash the lids. Use them again tomorrow.
Three years and older. A three year old needs help. A seven year old can do it alone.
Put them on a shelf. Put them in a box. Some crafts do not last long. That is fine. Make a new one.
Use tape. Tape works for everything here.
Wash the clothes right away. Use cold water.
You do not need to buy toys. You do not need to buy craft kits. You have everything you need in your recycling bin. A bottle becomes a pig. An egg carton becomes a bug. A box becomes a car.
The best part is not the toy. The best part is sitting with your child. The best part is watching their hands work. The best part is hearing them say look what I made.
Pick one craft. Just one. Get the trash from your bin. Clean it. Sit with your child for twenty minutes. Make something together. Then put it on the table and look at it. You will feel good. Your child will feel proud.