
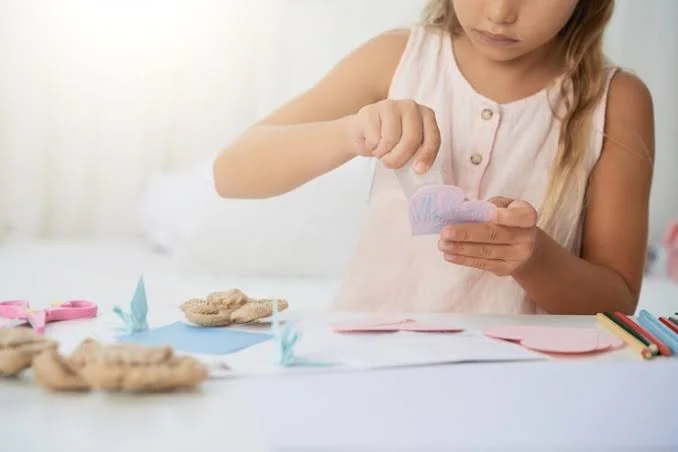
Easy crafts for kids at home work best when they need almost no preparation. The ideas in this article use cardboard boxes, paper plates, socks, and other household items you probably already own. Each craft includes simple steps a child can follow, with minimal help from an adult.
Most of these projects take under thirty minutes from start to finish. Younger children will need more hands-on help. Older kids can work independently on several of them.
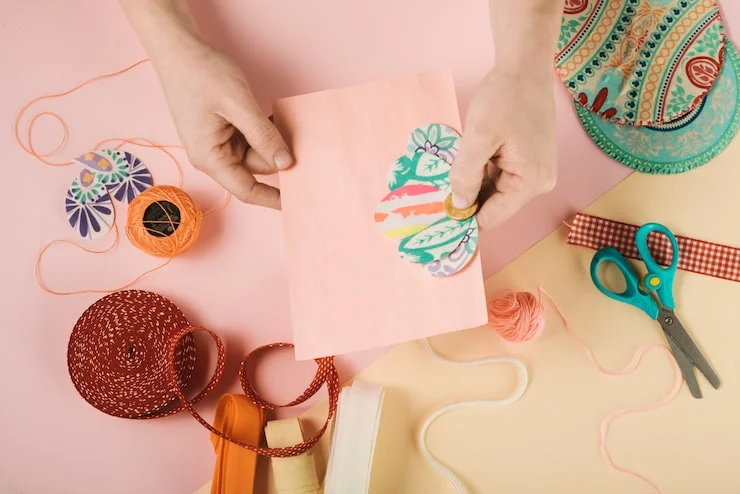
The goal of crafting with kids is not a perfect result. It is the time spent cutting, gluing, painting, and imagining together. A crooked paper plate suncatcher taped to a window means more to a child than a flawless project made by an adult.
Research on early childhood development consistently shows that open-ended creative play builds problem-solving skills, fine motor control, and emotional expression. When a child decides where to put a button eye on a cardboard robot, they are making real decisions. That is easy crafts for kids at home.
Simple crafts also lower the barrier for parents. You do not need a craft room or a closet full of specialty supplies. You need a few basics and the willingness to let things get a little messy.
A small stash of basic materials covers almost every craft in this article. Keep these items in a box or bin:
You do not need every item on this list. Start with what you have and add supplies as you go.
Read Also: Educational Art Projects For Preschoolers
Supplies: One medium cardboard box, construction paper or paint, tape, scissors, a ruler or stick, string.
What to do: Cut the top flaps off the box so it has an open top. Paint or cover the sides with paper. Cut portholes by tracing circles and cutting them out with adult help. For the sail, tape a ruler or stick upright inside the box and tie or tape a piece of fabric or paper to it. Blue tissue paper or fabric around the base becomes the sea.
Why kids like it: The ship becomes a toy after the craft is done. Kids can put small figures inside and sail them around the room.
Supplies: One paper plate, paint or markers, scissors, a pencil with an eraser, a straight pin, a wooden stick or straw.
What to do: Draw a small circle in the center of the plate. Cut from the outer edge to that center circle in four evenly spaced lines. Paint both sides of the plate and let it dry. Once dry, fold one corner of each cut section toward the center. Push a straight pin through all four folded corners, then through the center of the plate, and into the eraser of a pencil or the end of a stick.
Why kids like it: They can run with it outside and watch it spin. The decorating step is where they get to make it their own.
Supplies: A thin white sheet or large piece of white paper, a lamp or flashlight, cardboard, sticks or straws, tape.
What to do: Hang the sheet across a doorway or between two chairs. Set up a lamp behind the sheet so it shines through. Cut simple shapes from cardboard, like animals or people, and tape them to sticks. Kids hold the sticks between the light and the sheet, and the shapes become shadows on the other side.
Why kids like it: They can put on a show. The same cardboard shape becomes different characters depending on how they move it.
Supplies: One clean sock, stuffing (fiberfill, cotton balls, or fabric scraps), glue, buttons, felt scraps, yarn.
What to do: Stuff the sock until it is plump but not tight. Glue the open end closed, or tie it with a piece of yarn. Glue on button eyes, a felt mouth, and yarn hair. Let it dry completely before playing.
Why kids like it: Every sock monster looks different. There is no wrong way to do it.
Supplies: Card stock or thick paper, washable paint, markers, scissors.
What to do: Fold a piece of card stock in half, then in half again, then in half one more time to create eight equal sections. Unfold and cut along the crease lines to make cards. Have your child press fingerprints onto pairs of cards. One big white fingerprint makes a sheep. Several small green prints in a row make a caterpillar. Let the paint dry, then use markers to add legs, faces, and details. Shuffle and play a matching game.
Why kids like it: It is a craft and a game in one. The matching part extends the activity.
Supplies: Clear contact paper, a paper plate or cardboard ring, leaves, flower petals, small flat nature items.
What to do: Cut the center out of a paper plate to make a frame. Cut two pieces of contact paper slightly larger than the opening. Peel the backing off one piece and press it sticky-side-up onto the frame. Let your child arrange leaves and petals on the sticky surface. Place the second piece of contact paper on top, sticky-side-down, and press to seal. Trim the edges. Hang it in a sunny window.
Why kids like it: It turns a walk outside into part of the craft. Collecting the leaves is half the fun.
Supplies: One toilet paper roll or small box, hair rollers or bottle caps, glue, markers, buttons, pipe cleaners.
What to do: The toilet paper roll becomes the robot body. Let your child decorate it with markers, stickers, or paint. Glue buttons on for control panels. Hair rollers or bottle caps become legs. Pipe cleaners can be arms or antennae. Add googly eyes or draw them on.
Why kids like it: Robots can look like anything. There is no rule about what a robot should be.
Supplies: Shaving cream, a shallow dish or plate, food coloring, a toothpick or fork, card stock or thick paper, a squeegee or easy crafts for kids at home.
What to do: Spread a thick layer of shaving cream on the plate. Add drops of food coloring in different spots. Use a toothpick to swirl the colors gently—do not mix too much. Press a piece of card stock onto the surface. Lift it off and use a squeegee or piece of cardboard to wipe away the shaving cream. The color stays on the paper in a marble pattern. Let it dry flat.
Why kids like it: The reveal is exciting. Every print looks different.
Supplies: Felt scraps, needle and thread (for older kids) or fabric glue, markers, pipe cleaners, scissors.
What to do: Cut two matching shapes from felt that are about the size of your child's finger, plus room to sew. Cut a smaller shape for wings or ears. Sandwich the wings between the two body pieces. Sew or glue around the edges, leaving the bottom open for the finger. Add a face with markers. For antennae, fold a pipe cleaner in half and stitch or glue it between the body layers at the top.
Why kids like it: The puppets are small and quick to make. Kids can make several and put on a finger puppet show.
Supplies: A smooth, flat rock, thin craft wire, paint, glue, a photo.
What to do: Paint the rock and let it dry. Cut a piece of wire about six inches long. Bend it into a spiral or a stand shape. Glue the bottom of the wire to the top of the rock. Let it dry completely. Slide a photo into the top of the wire.
Why kids like it: It is a useful object they made themselves. They can give it as a gift or keep it on their desk.
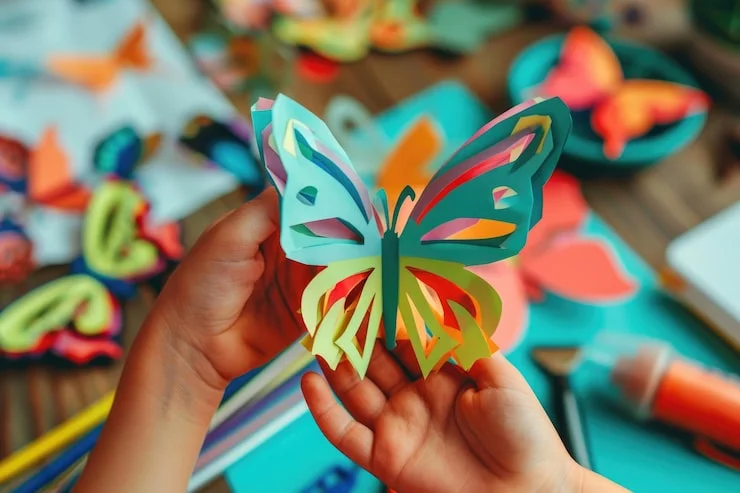
Supplies: One toilet paper roll, paint, construction paper, glue, markers, pipe cleaners.
What to do: Paint the toilet paper roll and let it dry. Cut two wing shapes from construction paper and decorate them with markers or stickers. Glue the wings to the back of the roll. Fold a pipe cleaner in half and tape or glue it inside the top of the roll for antennae.
Why kids like it: The butterfly can sit on a shelf or be hung from a string. The wings are a blank canvas for whatever they want to draw.
You May Also Like: Fun and Educational Year of the Snake Crafts for Kids to Try This Year
Supplies: Embroidery floss in two or more colors, scissors, tape.
What to do: Cut three strands of floss, each about arm's length. Knot them together at one end and tape the knot to a table or clip it to a clipboard. Separate the strands and braid them together. When the braid is long enough to go around a wrist with a little slack, knot the end. Tie the ends together to wear it.
Why kids like it: Braiding is a calming, repetitive activity. Older kids can learn more complex knot patterns online.
Supplies: Two balloons, a plastic sandwich bag, Play-Doh or kinetic sand, a marker.
What to do: Fill the sandwich bag with Play-Doh, leaving a little room at the top. Squeeze out the air and seal it. Cut the neck off one balloon and stretch it over the bag. Cut the neck off the second balloon and stretch it over the first for extra strength. Draw a ninja face on the balloon with a marker.
Why kids like it: It is a toy they can squeeze when they feel frustrated. Making it is almost as satisfying as using it.
Supplies: Clean eggshells (broken in half, with the membrane rinsed out), Epsom salt, water, food coloring, a small cup or jar.
What to do: Heat one cup of water until it is hot but not boiling. Stir in Epsom salt until no more will dissolve. Add food coloring. Place an eggshell half in a small cup and pour the salt solution into the shell. Let it sit for several days. As the water evaporates, crystals form inside the shell.
Why kids like it: It is a science experiment and a craft at the same time. Watching the crystals grow over a few days builds patience.
Supplies: A wooden block or sponge, craft foam, glue, a marker, a stamp pad.
What to do: Write your child's name in large block letters on a piece of paper. Cut out each letter. Trace the letters backwards onto craft foam and cut them out. Glue the foam letters onto one side of the wooden block, facing the correct direction when stamped. Let it dry. Press the block onto a stamp pad and stamp onto paper.
Why kids like it: It gives them a tool to mark their belongings. The stamping itself is satisfying.
You do not need a dedicated room. A kitchen table covered with newspaper or a plastic tablecloth works fine. Keep supplies in a portable bin so you can put everything away when craft time is over.
Here are a few small changes that make crafting easier:
Use a tray or baking sheet to contain small pieces like buttons and beads. This keeps them from rolling onto the floor.
Keep a damp cloth nearby for wiping sticky fingers. Washable glue and paint clean up faster when you catch them early.
Set expectations before you start. Tell your child where they can and cannot use the glue or paint. A two-minute conversation prevents most messes.
Let them work at their own pace. Some kids finish a craft in ten minutes and want to do another. Others spend an hour on one project. Both are fine.
Toddlers (ages 2–3) need the most help. Pre-cut shapes, use glue sticks instead of liquid glue, and choose crafts with large pieces. Fingerprint painting and simple stamping work well.
Preschoolers (ages 4–5) can cut with safety scissors, apply glue with a brush, and follow two or three simple steps. They enjoy crafts where they choose colors and decorate.
Early elementary (ages 6–8) can work more independently. They can follow written or pictured instructions, tie simple knots, and use a needle with close supervision.
Older kids (ages 9–12) can handle more complex projects like sewing felt, bending wire, and working with small pieces. They often want to personalize crafts and make them their own.
The easiest crafts use paper, glue, and markers. Paper plate pinwheels, fingerprint games, and cardboard robots require almost no preparation and use supplies most families already have.
Cover your work surface with newspaper or a plastic tablecloth. Use a tray or baking sheet to contain small pieces. Keep a damp cloth nearby for quick cleanups. Choose washable paints and markers whenever possible.
Cardboard boxes become pirate ships or robots. Toilet paper rolls become butterflies or robot bodies. Socks become monsters. Paper plates become pinwheels. Egg cartons, jar lids, and fabric scraps can all become part of a craft.
Most children can follow simple craft instructions independently around age six or seven. Younger children need an adult nearby for cutting, gluing, and keeping small pieces out of mouths. The level of independence depends more on the individual child than on their age.
Follow your child's attention span. Toddlers may be done after ten minutes. Preschoolers often stay engaged for twenty to thirty minutes. Older kids can work for an hour or more on a project they care about. It is better to stop while they are still enjoying it than to push through frustration.